
A small kitchen space was once considered a luxury; hence, galley kitchens were born. A galley kitchen is essentially a small cooking space designed around a small pathway in the center and shelving on either side, with the stove usually at the end of the pathway.
Your galley kitchen is small compared to the rest of your home, which can make your space appear cluttered and inefficient. To give your galley kitchen a more grandiose appeal, consider these paint ideas to give the space greater depth and the illusion of being larger.
Use Light Paint Hues
Lighter paint colors reflect light rather than absorb it the way darker or richer paint hues due, thus giving the area painted a larger, more comfortable appeal. Choose soft pastels for your kitchen area, such as dusty rose, mint green, soft yellow, or even a light blue gray hue to make your kitchen appear bigger.
If you paint your kitchen white, stick to an off-white hue rather than a true white. Eggshell, soft sand, and antique white all look pleasant in a smaller kitchen area, especially when complemented with natural sunlight from windows or soft yellow lighting in the living space.
Use Paint to Add Dimension
Rather than paint your kitchen one solid hue, consider painting your walls one color then painting your cupboards and drawers a solid white or cream. The contrast of color in your kitchen can take away its boxy appearance and make the space look larger.
Another way to add dimension with paint in the kitchen is to choose a darker hue on the same color spectrum as your main hue, painting the largest wall in your kitchen the dark tone. The contrast of color - for example, choosing goldenrod for an accent among soft yellow walls - gives your galley kitchen greater depth.
Use Paint to Add Ceiling Height
You can make your ceiling look higher (therefore making your kitchen appear taller) by adding the right paint. To make your ceiling appear higher, paint the surface a light hue, such as a very light gray, eggshell white, or a pure white.
When painting your kitchen ceiling, you should paint the rest of the ceiling space in your home to create a uniform appeal. Furthermore, paint your home's ceilings to give your interior space a visual upgrade you can appreciate throughout your home.
Use Paint to Complement Other Features
Your galley kitchen may have an ornate stone floor or custom countertops. Whatever pleasing features your kitchen has, use paint to complement these benefits rather than detract from them. For example, if you have rich marble countertops, then choose hues that showcase your counters (such as soft gray or a light salmon color). The right color spectrum in your kitchen can make your small cooking space appear modern and put together, which will make up for its lack of space.
If paint isn't your style, then you can consider wallpapering your kitchen. Choose wallpapers that have subtle designs in them for your kitchen space (or simply wallpaper a single wall and paint the rest of your galley kitchen a lighter, complementary tone) to give your kitchen space a classic yet pleasing atmosphere.
While having a galley kitchen may appear to be a nuisance, you have many ways to make your small cooking space brighter, more modern, and simply charming with paint. Your painter will help you choose the right hues to make your kitchen pop while still matching the rest of your home's style.
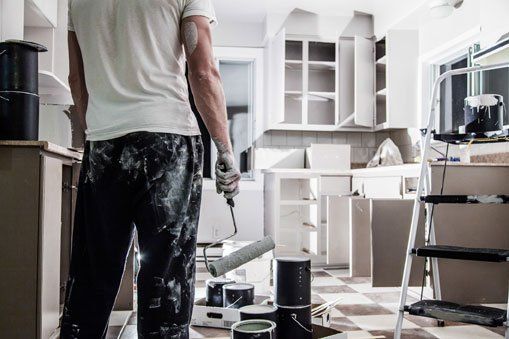
Don't take on the arduous task of painting your kitchen yourself. Allow our team of painting specialists to give your living space new appeal. Call us at CoverWalls Inc. today

Unwashed walls have too much grime on them for new paint to properly adhere. Those who skip this vital step often end up with paint that begins to bubble, peel, or flake long before it should.
1. EXTRA-TALL ROOMS
2. DORMERS AND ODD CEILING AREAS
3. COFFERED SECTIONS
4. BABY NURSERY
5. CAREGIVING ROOM
1. Consider How You Want to Use the Wallcoverings
2. Consider the Color Palette You Want for the Room
3. Consider the Amount of Wallcovering You Need
4. Properly Prepare for the Wallcovering Installation
BOLD METALLIC
TROPICAL FLORALS
REALISTIC BRICK
FUN GEOMETRIC
DAZZLING TEXTURE
CHOOSING WALLPAPER
ADD TONS OF NATURAL WOOD
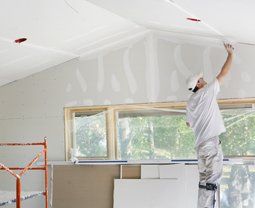
You might not know that there are also ways to add the look of natural wood without really adding wood at all, and you can do this with paint. Professional painters use a number of techniques that make walls and ceilings look like wood.
One method involves a process called graining. Painters that use graining on walls make walls look like wooden walls, but they accomplish by using paint. This requires at least two shades of brown paint, acrylic glaze and the right types of tools. When the painter finishes the process, your walls will look like they are made of real wood.
No one will ever know the difference unless they examine the walls very closely, and you will save a lot of money achieving wood-looking walls in this manner compared to hanging real wood up.
USE NATURE-COLORED PAINT HUES AND WHITES
One other element of rustic-chic decorating is white. A room decorated with this theme needs white. You can choose white paint for some of the walls. You could paint your fireplace mantel white, or you could add white trim to certain areas. You could also achieve the needed white by adding white furniture or decorations.
HANG THE RIGHT WALLPAPER
Paintable white wallpaper is one option you can consider. You can choose from numerous patterns of paintable wallpaper, and you could leave it white or paint it. Leaving it white would help you add enough white to the room, and the texture will add depth and beauty to the room.
Placing the wallpaper on the bottom parts of the walls only is a great option, and you could separate it with a piece of chair rail. If you prefer, you could place the wallpaper on an entire wall from the floor to the ceiling. There are also options for ceiling wallpaper, which also has patterns on it.
You could also choose wallpaper that looks like wood, and this is a great choice if you do not want to grain the walls or add real wood. In the past, wallpaper contained a lot of floral prints, but this is no longer the case. There are options today that are modern and trendy, and some are ideal for the rustic-chic theme.
Rustic-chic living rooms are welcoming, relaxing and beautiful. If this is your goal, hire a company that specializes in custom painting and wall coverings. Fill out our contact form for more information.
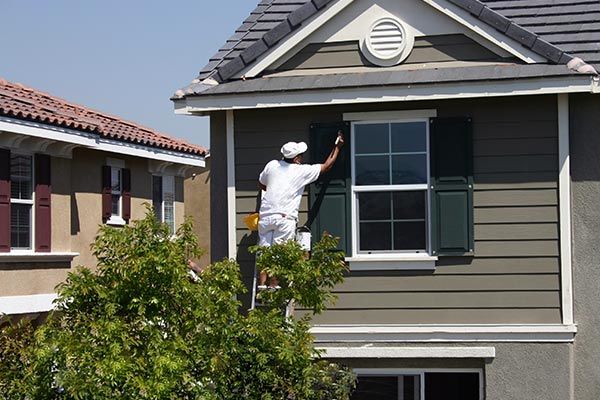
Region and Architectural Style
Work With Existing Materials
Look at the Paint in Different Lights
For more advice on choosing an exterior home color , turn to the professionals and call CoverWalls Inc.
Neutrals
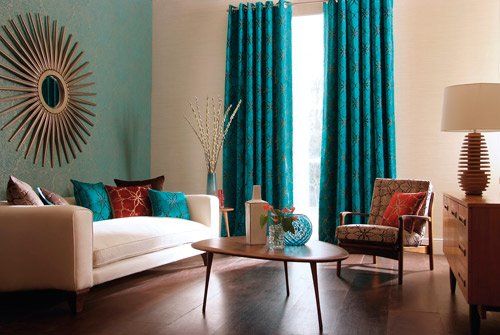
Bold Accents
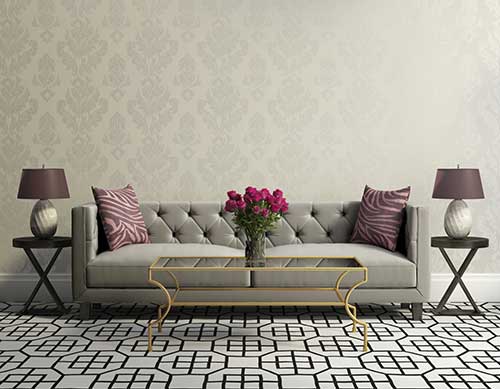
Patterned Walls
A small kitchen space was once considered a luxury; hence, galley kitchens were born. A galley kitchen is essentially a small cooking space designed around a small pathway in the center and shelving on either side, with the stove usually at the end of the pathway.
Your galley kitchen is small compared to the rest of your home, which can make your space appear cluttered and inefficient. To give your galley kitchen a more grandiose appeal, consider these paint ideas to give the space greater depth and the illusion of being larger.
Use Light Paint Hues
Lighter paint colors reflect light rather than absorb it the way darker or richer paint hues due, thus giving the area painted a larger, more comfortable appeal. Choose soft pastels for your kitchen area, such as dusty rose, mint green, soft yellow, or even a light blue gray hue to make your kitchen appear bigger.
If you paint your kitchen white, stick to an off-white hue rather than a true white. Eggshell, soft sand, and antique white all look pleasant in a smaller kitchen area, especially when complemented with natural sunlight from windows or soft yellow lighting in the living space.
Use Paint to Add Dimension
Rather than paint your kitchen one solid hue, consider painting your walls one color then painting your cupboards and drawers a solid white or cream. The contrast of color in your kitchen can take away its boxy appearance and make the space look larger.
Another way to add dimension with paint in the kitchen is to choose a darker hue on the same color spectrum as your main hue, painting the largest wall in your kitchen the dark tone. The contrast of color - for example, choosing goldenrod for an accent among soft yellow walls - gives your galley kitchen greater depth.
Use Paint to Add Ceiling Height
You can make your ceiling look higher (therefore making your kitchen appear taller) by adding the right paint. To make your ceiling appear higher, paint the surface a light hue, such as a very light gray, eggshell white, or a pure white.
When painting your kitchen ceiling, you should paint the rest of the ceiling space in your home to create a uniform appeal. Furthermore, paint your home's ceilings to give your interior space a visual upgrade you can appreciate throughout your home.
Use Paint to Complement Other Features
Your galley kitchen may have an ornate stone floor or custom countertops. Whatever pleasing features your kitchen has, use paint to complement these benefits rather than detract from them. For example, if you have rich marble countertops, then choose hues that showcase your counters (such as soft gray or a light salmon color). The right color spectrum in your kitchen can make your small cooking space appear modern and put together, which will make up for its lack of space.
If paint isn't your style, then you can consider wallpapering your kitchen. Choose wallpapers that have subtle designs in them for your kitchen space (or simply wallpaper a single wall and paint the rest of your galley kitchen a lighter, complementary tone) to give your kitchen space a classic yet pleasing atmosphere.
While having a galley kitchen may appear to be a nuisance, you have many ways to make your small cooking space brighter, more modern, and simply charming with paint. Your painter will help you choose the right hues to make your kitchen pop while still matching the rest of your home's style.
Don't take on the arduous task of painting your kitchen yourself. Allow our team of painting specialists to give your living space new appeal. Call us at CoverWalls Inc. today